

7 Must-Have Dental Office Positions You Need to Hire Today
There are several dental office positions that keep a practice running smoothly. ✓ Read Cloud 9’s guide on what to look for in dental office staff. Click here!
Learn More


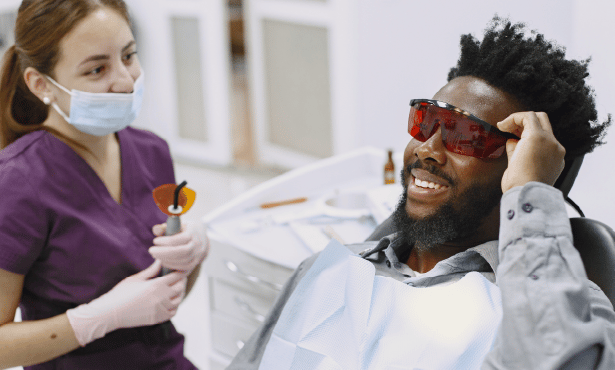
One of the most common questions dentists receive is, “What is that blue light?”
Your blue light dental tool will become your best friend during your duties. The blue light at dentist offices and clinics is a curing light that cures resin-based composites using light. Understanding what a dental ultraviolet curing light is for and its safety elements can enable you to provide your patients with a higher standard of treatment.
In this article, you’ll learn about the dentist’s blue light and its role in delivering oral health treatments.
A dental curing light is a piece of dental equipment used to cure resin-based composites using light. It’s used when providing fillings for patients. You’ll shine it directly over your patients’ teeth when giving them fillings. Blue light can also be used for other purposes, such as activating teeth whitening gel.
The light produced generates several wavelengths of light, which will vary by the type of device. It just so happens that the visible light on the spectrum is blue. Curing lights have been around since the 1960s. Older blue lights used plasma arcs or lasers, whereas tungsten halogen and light-emitting diodes (LEDs) are the curing lights most commonly used today.
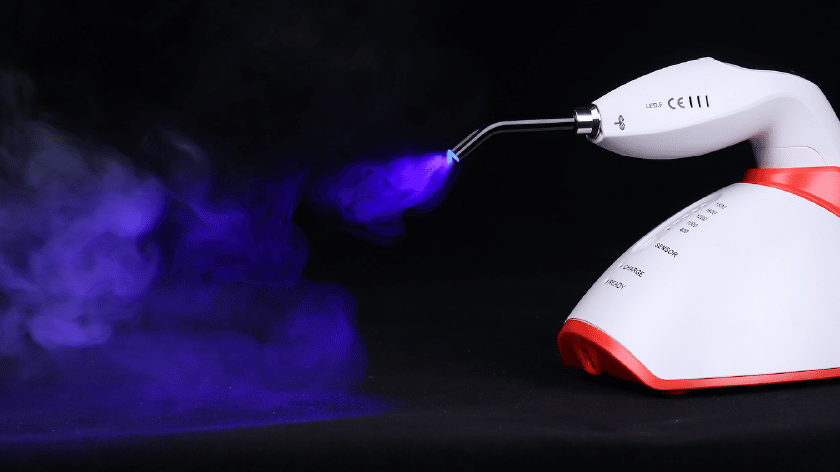
The purpose of the dentist’s UV light is to emit brightly concentrated blue light. This light tool is designed to set and cure fillings and sealants quickly. It takes only a few seconds for the light to harden your dental work.
Today, dentists use halogen or LED lights. Most dentists opt for LED lights because they avoid the problem of heating without compromising on their effectiveness. In the past, dentists had to be extremely careful when using these lights to avoid damaging the soft tissues of their patient’s mouths.
So, what does blue light do to your teeth?
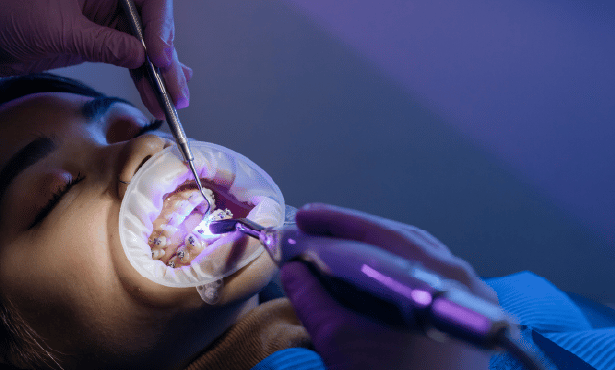
When repairing a cavity in one of your patient’s mouths, you will prepare the surface by cleaning it and preparing a bondable texture. Filings made of resin will be inserted into the cleaned-out cavity and shaped according to their specific bite pattern. You’ll be attempting to match the shape of the original tooth.
Since the resin will naturally harden, you’ll need to work quickly to shape it correctly. Once you’re happy with the results, you will use your blue dental light to speed up the curing process. It only takes 20 to 60 seconds to cure the resin fully.
Once cured, your patients can return to chewing without worrying about the resin becoming misshapen or falling out.
Research into the effectiveness of using blue light to whiten the teeth is mixed, with some studies claiming using light as an accelerant was ineffective. In contrast, other studies said it did seem to be effective.
Generally, using blue LED light in this way is considered safe, following comprehensive in vitro and clinical studies. The only risk associated with this procedure is potentially creating tooth sensitivity or irritation in the treated areas. Overall, using blue light in this way will not have any severe side effects.
The safety of your patients is the top priority. A patient with a bad experience under your care is unlikely to return. Discomfort and dental mishaps are the number one reason why many Americans fail to visit a dentist regularly.
Blue light is ubiquitous in daily life. Practically every electronic device, from televisions to smartphones, emit blue light. Much has been made of the risks of blue light on circadian rhythms and how it could accelerate age-related macular degeneration. But how does the UV light dentist tool impact safety in the office or clinic?
The answer is no. Your teeth are unaffected by being exposed to blue light. This was the case even with the older plasma-based devices with a risk of overheating. With teeth made from calcium, the risk isn’t to these rigid structures. Blue lights have a massive impact on accelerating the curing of resin-based composites, but they’re not strong enough to penetrate the teeth or cause permanent damage to soft tissues.
In the past, the main risk of using a blue light dental tool was damage to the soft tissues. Dentists of the time had to be extremely careful of how long they exposed the mouth to blue light. Overheating could lead to discomfort and injury.
LED lights are so heavily favored because they don’t produce heat. Dentists can use them without worrying about soft tissue injuries.
Much of the discussion over blue light dental tools has related to other potential injuries.
Unfortunately, the U.S. Food and Drug Administration (FDA) has provided no information on which eyewear brand has been cleared for use. Ongoing research into safety equipment for curing lights means that no decisions have been taken on the steps dentists should take to protect their patients.
Eyeglasses are a must, but dentists can also protect their patients from risks by limiting their exposure; only using blue light dental wands for as long as necessary is the way to go.
Blue light is here to stay because it’s a vital tool of the craft, but taking steps to protect your patient’s eyes is critical to providing a safe and effective service.
The issue of using a dentist curing light isn’t as straightforward as many dentists think. Most dental schools and technique articles tell practitioners to shine the light for X number of seconds to complete the process. While this is essentially the majority of the process, there’s more to it than that.
Here’s a basic rundown of choosing a curing light, their differences, and how to wield this tool.
Over the last few years, there’s been a tremendous amount of improvement in dental curing light technology. Not all lights were created equal, so you need to know which light you should use for the task.
LEDs are the most common light available. They contain blue-only LED lights and produce light in a narrow range of 440 nm to 490 nm. You may also have come across poly-LED curing lights. These devices will create a larger spectrum of light ranging from 390 nm to 490 nm.
Since you’re using a high-powered curing light, you must avoid delivering too much exposure, which could lead to thermal damage.
The dental radiometer will measure the energy output of your curing lights. Most radiometers will measure the light at the tip of the guide. Aim to keep a weekly log of these values to get a baseline for how much energy your curing light is putting out.
If there’s any variation in these numbers, it indicates that there could be a problem with your curing light. Since light is measured from the tip, moving the wand away by even a tiny amount will drastically impact how much light reaches the resin-based composite in your patient’s mouth.
Make sure you’re consistent in how you’re using your curing light to ensure that you keep your numbers consistent.
Rarely discussed is the importance of the tip diameter. Choosing the right tip will influence how much light actually reaches the in-mouth restoration.
In most cases, a simple 8 mm tip will meet the requirements of most procedures.
If you’re working with teeth like permanent molars, you may want to consider a broader tip to cover the whole of the restoration. You want to ensure even light curing across the teeth. The same goes when placing porcelain veneers or direct composite resin veneers.
When using a smaller-diameter tip, you’ll need several light exposures to complete the light-curing process, which means the treatment will take longer, and you could be left with an inconsistent cure.
Practically all modern dental wands can be activated by pressing a button to trigger the light. After placing the resin-based composite, you can begin shining the light over the top of the renovation.
Typically, it’ll only take a few seconds, depending on the material you’re using. Make sure you’ve confirmed in advance how many seconds it takes for the light to cure whatever material is used. The goal is to only expose the patient to enough blue light to get the job done and no more.
In addition to learning how to start a dental practice, understanding the tools of the trade and how to use them will make you a better dentist. Aside from choosing the right tools and mastering techniques, you need to know how to streamline your practice.
Manage all the tasks running a practice with the industry’s state-of-the-art dental practice management software solution from Cloud 9 Software.
To find out how Cloud 9 can improve the way you operate your practice, request your free demo now.
There are several dental office positions that keep a practice running smoothly. ✓ Read Cloud 9’s guide on what to look for in dental office staff. Click here!
Learn MoreSearching for an essential dentistry equipment list? Follow our checklist to ensure you have all the equipment you need for your practice.
Learn MoreLooking into dental digital marketing? Cloud 9 Software's guide will let you know the different digital marketing strategies for dentists.
Learn More
